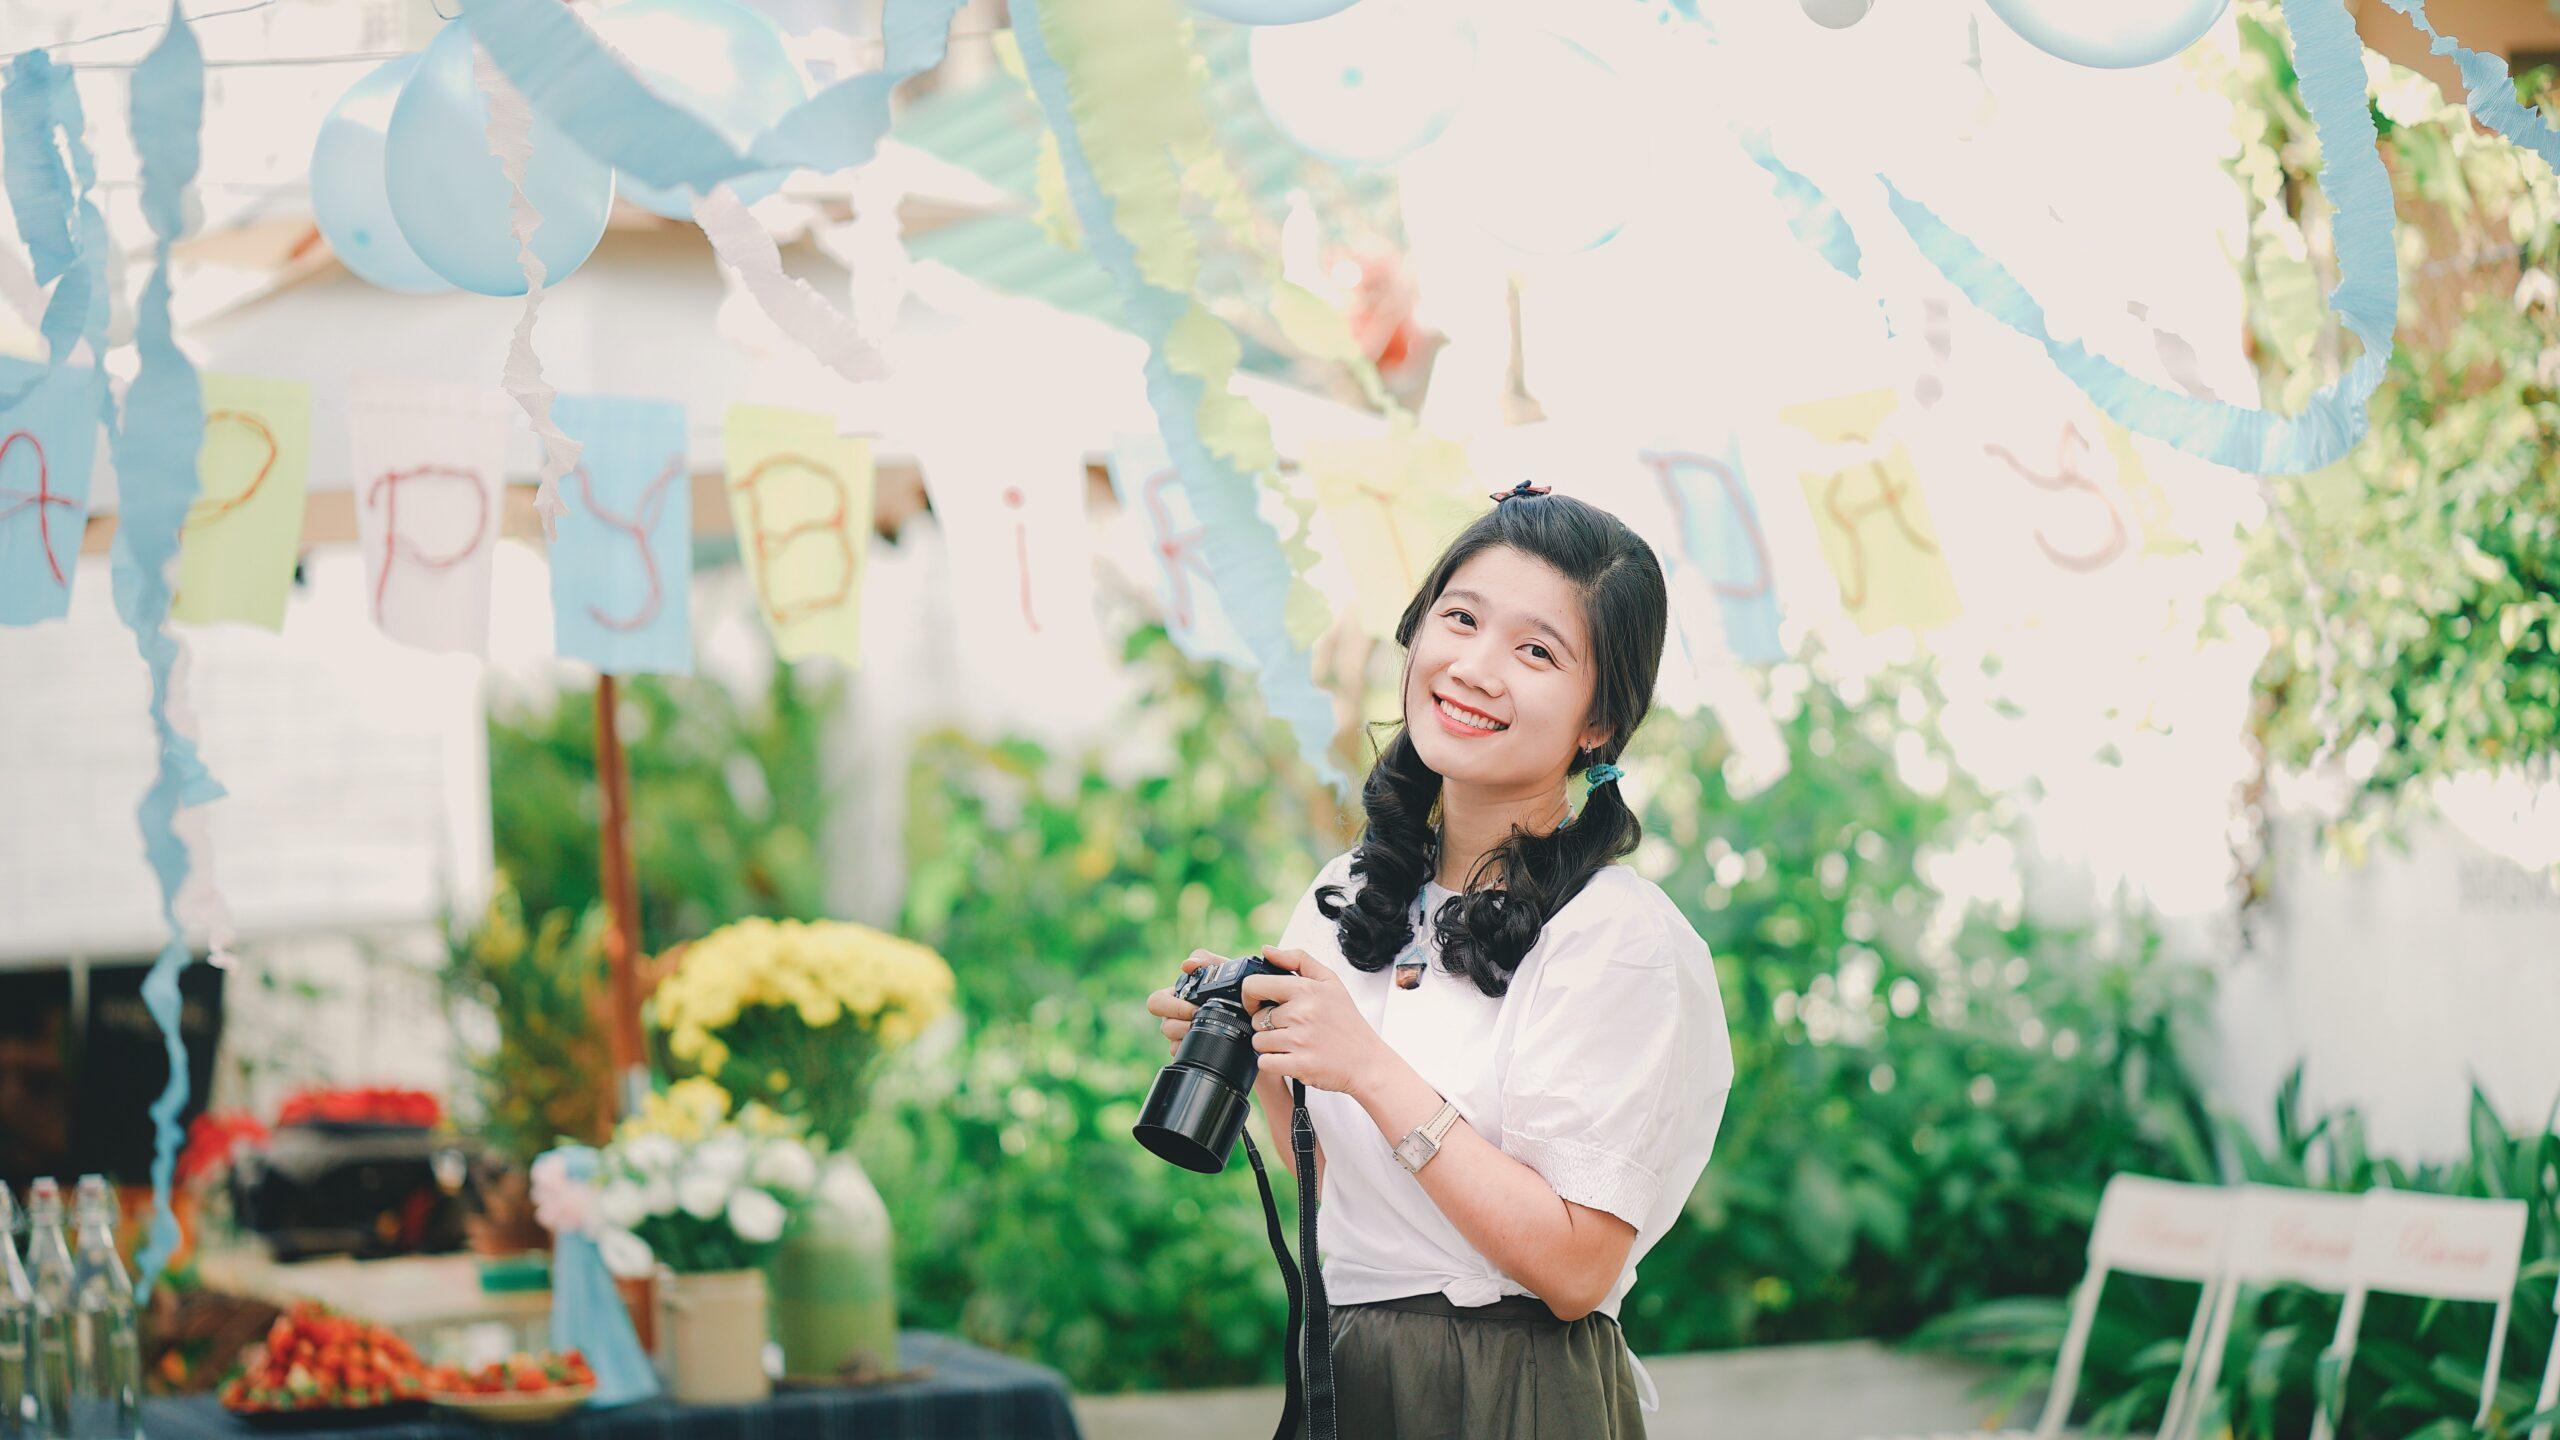
All parents who have attempted to take nice photographs of their children know what a challenge it can be. Young children have short attention spans, and unusual situations such as sitting motionless in front of a camera tend to make them anxious and uncomfortable. Also, activities like posing and smiling on command do not come naturally to most children who tend to react by squirming and fidgeting. The few smiles that do appear often look frozen and artificial.
What can a parent do to capture cherished childhood portraits? Take your children to a familiar place where they feel happy and relaxed. Your neighborhood playground may be the perfect place for a pleasurable and productive family photo shoot. It has plenty of sunshine and color, plus playground structures provide great places on which to rest during picture time. If you make picture-taking a part of your child’s play, then you’ll be amazed at how relaxed he or she becomes in front of the camera and how easy it can be to capture a beautiful childhood moment to last for generations.
The following tips allow even the most inexperienced parent photographer to produce professional looking children’s portraits. The tips are a cinch to master. Best of all, they may be used with any camera including your moderately priced point-and-shoot digital camera. The photographs in this article have been taken with a typical consumer digital camera.
Start Slow & Build Momentum
Before snapping any pictures, observe your child as he or she plays. Look for nooks and crannies in the play structures where the child can sit, stand and even hang. Steps, ladders and the ends of enclosed, tube-style slides all make excellent backgrounds and props. Safety barriers with holes as well as bars enabling small faces to peek through the structures are also good portrait locations.
While your child crawls and climbs through the various playground structures, stop him every once in a while and snap a picture. The trick is to make the process fun and brief. Try not to linger or put too much emphasis on one given pose. After a few shots, your child should start to feel comfortable with the quick photo breaks, and he may allow you a bit more time for simple posing and composition. Do not fret if you miss a shot. Patiently wait for the next opportunity and try again. The wonderful thing about digital photos is that they cost next to nothing, so take plenty.
Pay Attention to the Sun
The location of the sun and the direction of sunlight are important factors to consider when taking portrait shots. If you photograph with the camera pointed directly at the sun, several things can occur, like bright, unsightly flare spots appearing in your photos. Because lenses do not always sense light in the same way as the eye, your pictures can turn out very dark due to your camera being confused by the flood of sunlight pouring directly into the lens. Additionally, with the main light occurring from behind the subject, the front of the face gets shaded by the head and appears dark in the picture.
Photographing with the sun behind you causes your subject to look into the sun and results in squinting. Photographing with the sun to the side of the subject is the best option. However, without fill flash— the use of flash in the daytime— the side of the face closest to the sun appears overly bright, leaving the other side cast in shadow.
Keep it Simple
Backgrounds are extremely important in portraits. The ideal background is one that is plain and lacks complex patterns that may be distracting in the final portrait. Choose locations backed by spacious areas of solid color or sky. If no such area exists, try to utilize objects in the background such as light poles, fence posts and tree limbs to frame the subject— and help separate the child from the background. Lastly, use caution when situating children directly in front of objects like flowers, leaves and bars; it can appear as if objects are growing directly out of children’s heads in the picture!
Zoom, Zoom, Zoom
In a portrait, your child should be the main element in the picture. Use your camera’s zoom feature to close in on the subject so that the face or body occupies most of the space in the picture. If your camera does not have a zoom feature, then physically move the camera closer to the subject.
Filling the picture with the most important subject reduces distracting details that may exist around or behind the subject.
Go Vertical
People are upright by nature. Similarly, when photographing children, maximize the space occupied by the subject by holding the camera vertically, appropriately called portrait orientation. When the camera is held side to side or horizontally, the subject occupies the middle portion of the photograph and the space to either side is wasted
Use Your Flash
Yes, use your flash in the daytime! As mentioned, this type of flash is called fill flash, and bright sunlight can cause objects around the subject to create shadows. Even the nose can cast distracting shadows that fall across the face. A fill flash illuminates the face and removes or reduces distracting shadows. Most cameras allow the photographer to set the camera to flash even if it does not want to. A quick glance at your camera’s owner’s manual should reveal how to set your camera for fill flash.
Following these tips helps you solve the majority of problems that trouble parent photographers. Here are some additional quick hints to give your photographs an extra professional look. Avoid photographing the bottom of shoes, watch out for undergarments peeking from shorts and dresses, and photograph at the child’s eye level whenever possible. Remember to take numerous pictures of each pose. As your child becomes more comfortable with the situation, designate a little more time for posing and setting up your photographs.
Last of all, have fun! Do not get disappointed if you miss opportunities. Professionals take hundreds of pictures to get one or two true “keepers.” Simply make a mental note of the pose or location that caught your eye and wait for the next opportunity. The quality of your pictures increases with practice. Get out there and take stunning pictures!


